For designers, a resume presents a unique opportunity. While most other professions use resumes to describe their skills, designers can demonstrate their talents directly within the document themselves and use their resume as an immediate opportunity to prove their skills. It needs to be clean, creative, and distinguishing. As a designer, we all know how easy it is to get carried away with the resume design, include more information than we should, and end up with a cluttered, confusing design as a result. You need to create a balance between carefully-chosen information and demonstrated design talents to effectively make your resume to stand out from the crowd.
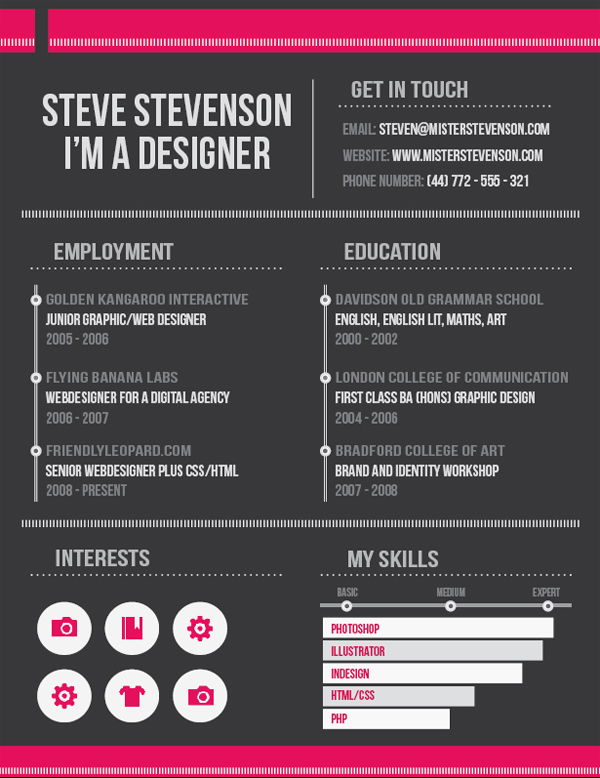
So, today we are going to create a clean and effective resume using Adobe InDesign. We will use some smart design techniques to get this done. Before we start, let’s take a look ahead at our final result. (Download the finished, layered Indesign file.)
Step 1
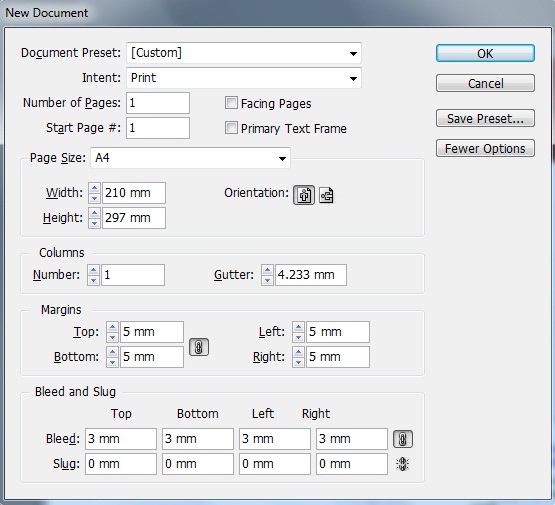
Open InDesign and create a new document. You can use any size your prefer; I’m going with 1 page, size A4, with margins of 5mm and bleed of 3mm.
Step 2
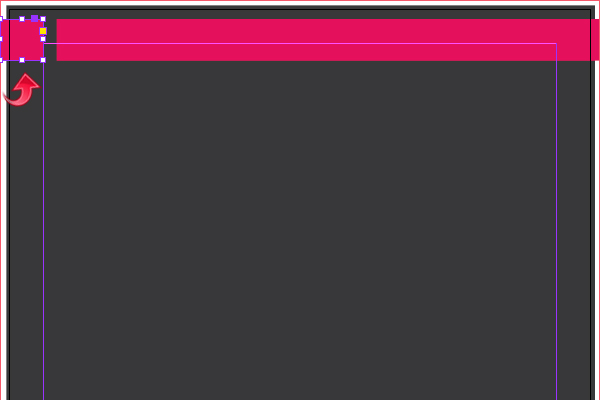
Now, let’s start with the background, so select the rectangle tool and create a rectangle with a dark gray swatch (C=0 M=0 Y=0 K=92).

Step 3
Create a new layer and select the rectangle tool to create a stripe at the top of the document with a pink swatch (C=0 M=100 Y=45 K=3).

Step 4
Using the same rectangle tool, create a small rectangle on the side with the same color swatch as before.
Step 5
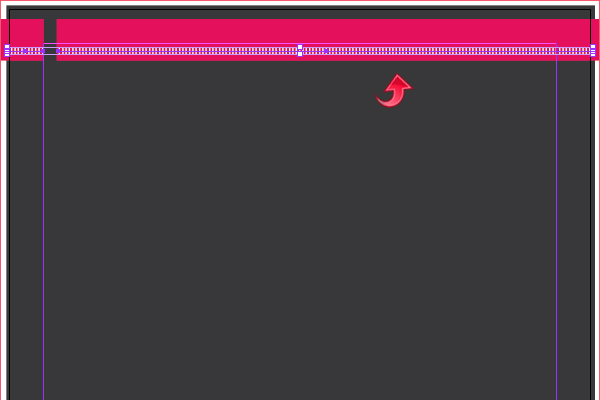
Select the line tool and draw a straight line with the paper color swatch. Then, add a 7pt ‘straight hash’ stroke to the line using the same color swatch.
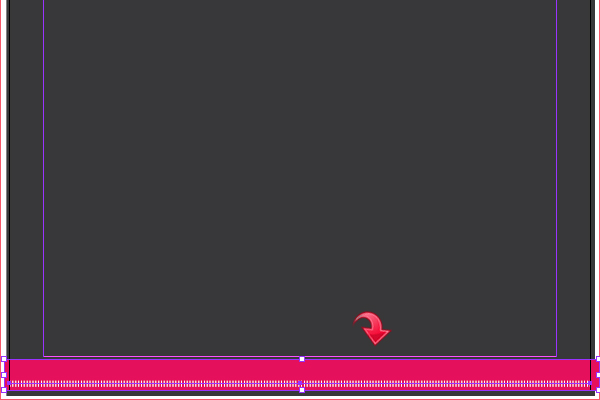
Step 6
Repeat the same process and create another stripe and line at the bottom, keeping the settings same as before.
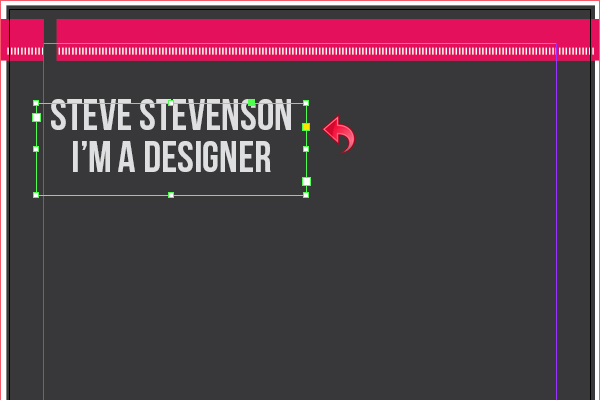
Step 7
Now, let’s start adding the details. We will use the details of fictitious designer Steve Stevenson. So, select the type tool and add the title text with a gray color swatch (C=0 M=0 Y=0 K=14).
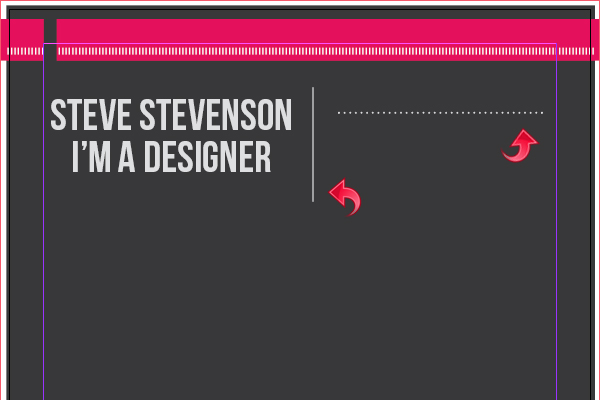
Step 8
Select the line tool and create two lines: one vertical with gray swatch, and the other horizontally with a 2pt dotted stroke.
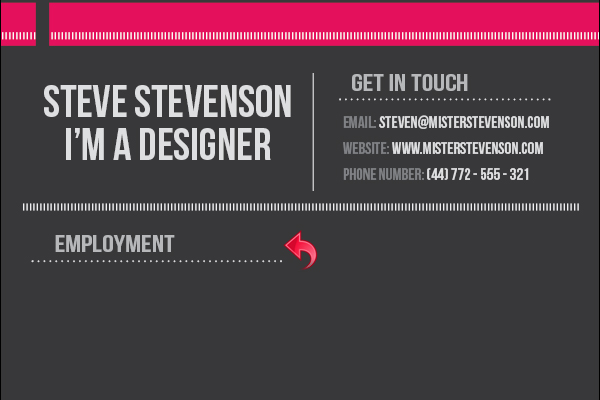
Step 9
Select the type tool and add the contact details. You can play around with different shades of gray. I’ve mostly used color swatch (C=0 M=0 Y=0 K=33) for the titles and (C=0 M=0 Y=0 K=14) to (C=0 M=0 Y=0 K=60) for the text.

Step 10
Let me change the screen mode to “Preview” so you can properly examine the design so far. Now, select the line tool and create a divider. Then, add a ‘straight hash’ stroke to the line. Finally, add the title in the same way as we did above.
Step 11
Select the line tool and create a vertical line with the paper swatch, and add a 3pt “thick thick” stroke using color swatch (C=0 M=0 Y=0 K=14).

Step 12
Select the ellipse tool and create a circle with the paper swatch, and add a 2pt solid stroke with a gray swatch. Then, create another circle with the dark gray swatch and place it in the middle of our previous circle.

Step 13
Using the same technique, create some additional circles. Now, click on the type tool and add some text next to these circles using the same colors as above.
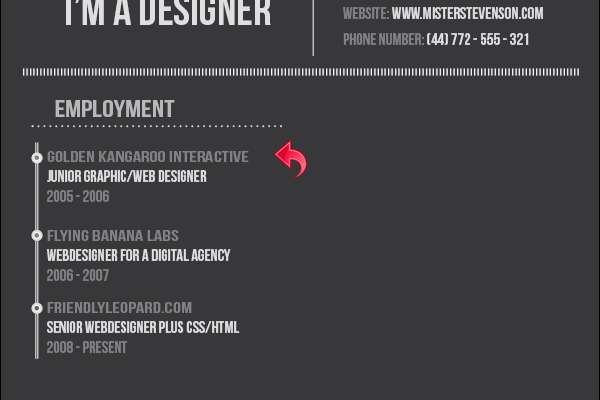
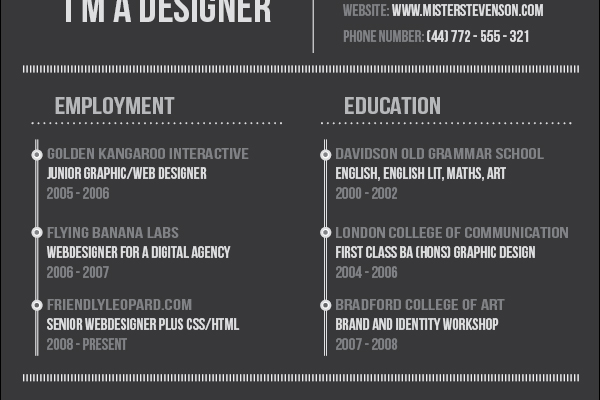
Step 14
Repeat the same process and add the education details. Then, select the line tool to create a divider, and add a 7pt “straight hash” stroke.
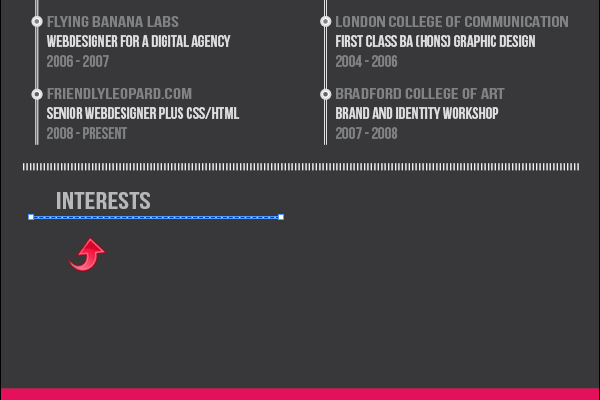
Step 15
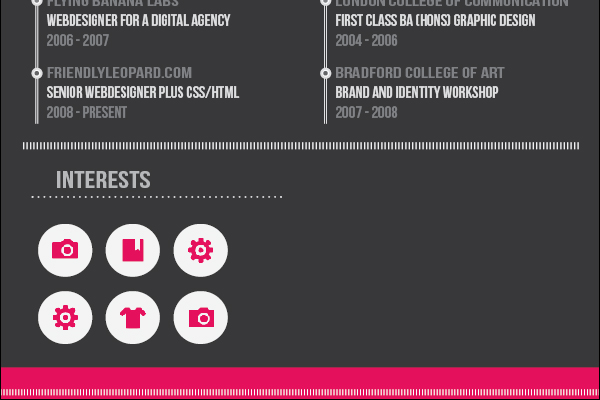
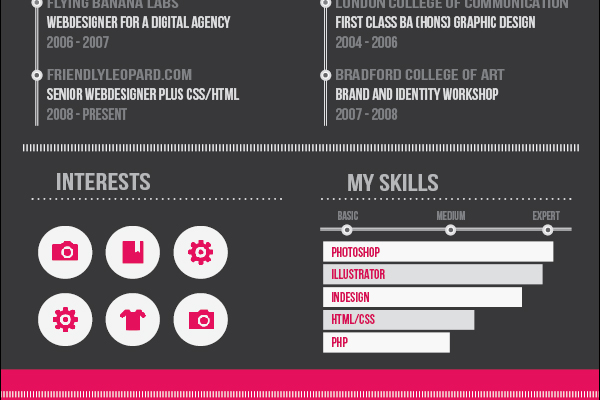
Now, let’s move on to our final section. Here we will add some interests, skills, and areas of expertise. Let’s start with interests, so select the type tool and add a title. Then, select the line tool to create a small horizontal line with a 2pt dotted stroke using a gray swatch.
Step 16
Select the ellipse tool and create a small circle with gray swatch (C=0 M=0 Y=0 K=4). Then, paste the desired icon using “File” > “Place.”
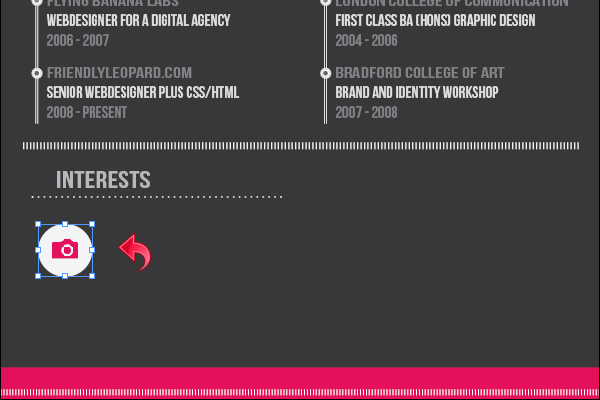
Step 17
Repeat the same process and add some additional icons.
Step 18
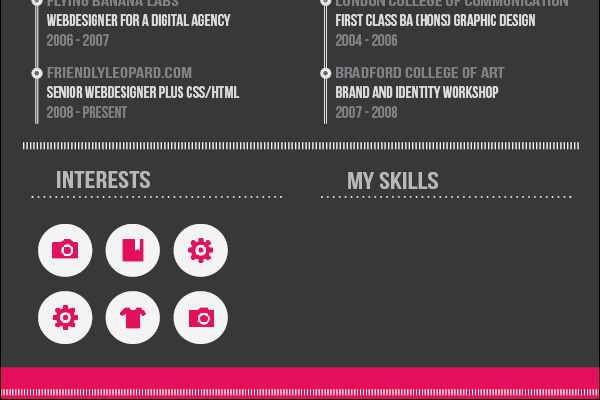
Now, select the type tool to add the title text. Then, add the line with a dotted stroke shown below.
Step 19
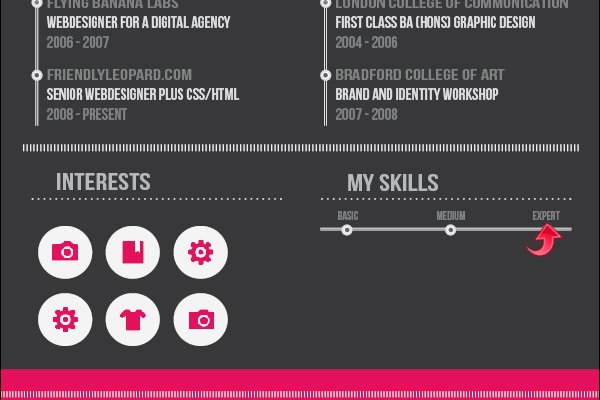
Select the line tool to add a horizontal line with a ‘thick thick’ stroke. Now, create some small circles and place them on the line same way as before. Look below for clarity.

Step 20
Select the type tool to add the desired text using dark gray color swatch (C=0 M=0 Y=0 K=60).
Step 21
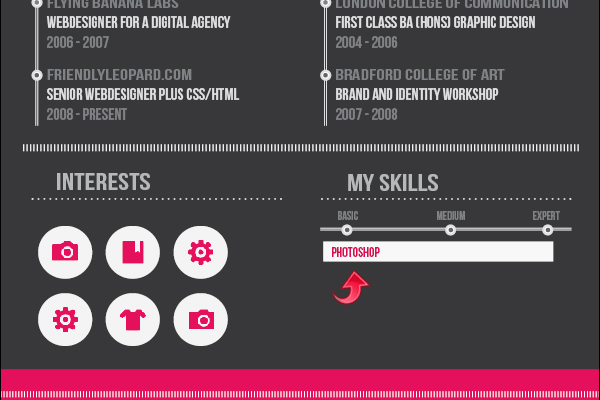
Select the rectangle tool and create a small rectangle using light gray swatch (C=0 M=0 Y=0 K=2). Now, select the type tool and add text using pink color swatch (C=0 M=100 Y=46 K=10).
Step 22
Create another rectangle and add text, but change the new rectangle’s color swatch to (C=0 M=0 Y=0 K=14).

Step 23
Repeat the same process and create rest of the skill bars. Look below for clarity.
We’re done! Our clean and effective resume/CV design is ready. I hope you guys enjoyed the tutorial. I’ll be back with some more. Have fun!
The post Design a Clean, Effective Resume in InDesign appeared first on SitePoint.